Best 5 Low Round Count Shooting Drills
If you’ve recently finished your 80% AR-15 or 80% pistol build you’re probably itching to get some trigger time. Well, take a trip down to you local gun or outdoors store and you might notice the significant hike in price of ammo and reloading components (if they’re even in stock). Gone are the days where we could mag dump on steel targets for fun. Even pre-Covid we were complaining about the price of entry at certain ranges so how to keep up our training without breaking the bank?
Below we’ve gathered the top five low round count shooting drills that will work for both your AR-15 rifle or handgun:
Dry Fire and Snap Caps
Dry fire is an integral part of training and building up your muscle memory. We highly recommend dry fire for learning the mechanics behind what it takes to manipulate your firearm effectively and quickly. Whether it’s with a rifle or pistol, practice dry firing in tandem with empty magazines or with snap caps. Snap Caps are replica bullets that will fit your magazines, properly chamber in your gun’s barrel, and be extracted upon racking your slide or charging handle. A fantastically affordable must-have tool.
So here’s the drill:
- Make sure your firearm is unloaded or loaded with only dummy rounds and not live ammunition.
- Start at the low ready with your gun cocked in hand, ready to present or shoulder the gun.
- Present gun and aim at your chosen target. Subsequently, pull the trigger.
- Once you feel/hear the audible click. Immediately drop the magazine and insert a new one.
- When the new magazine is reloaded get it back on target as fast as possible.
With this drill we practice the motion of presenting a firearm, reloading, and even troubleshooting. When we pull the trigger in a live-fire situation, and nothing happens the automatic reaction should be to extract the round as it may have been a bad round or a light-strike from the firing pin. This can be replicated in practice by using dummy rounds which again is why Snap Caps are so great. When all of this becomes second nature you can start to work on your speed. Start out slow and figure out what works best for you.
You can switch this simple drill up by using a timer, an in-waistband holster or on-waistband holster and choose to have multiple magazines ready on a belt or a plate carrier to reload multiple times. The best part? Takes no ammo!
The 1-R-1

The 1-R-1 stands for shooting one round, reloading a new mag and subsequently shooting another round. Pretty self-explanatory. We recommend doing the dry-fire version of this at home which makes for great practice.
At the range, you can incorporate a shot clock/timer to record your times. Note your split times, the amount of time it takes to get each shot off, and the total amount of time it takes you to complete the drill. The overall goal here is speed. Start slow, be smooth, work your way up to faster times.
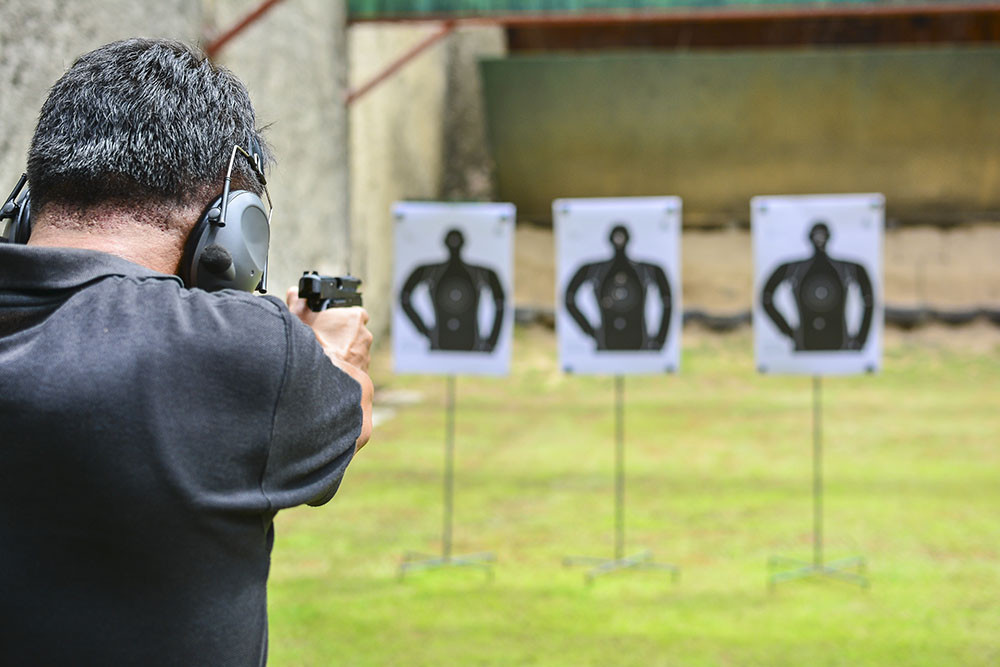
The Bill Drill
Moving on to live fire drills we have “The Bill Drill.” The goal of this drill is to increase your speed without losing accuracy. Traditionally, once you hear a shot clock’s/timer’s “BEEP” you’re supposed to shoot 6 times, but we’ve adjusted this to accommodate for Covid times. Here’s the breakdown:
- Set up a timer with a delay so it exercises your reaction timing. If you’re using a pistol start with the gun in your holster regardless if it’s concealed, OWB, or on a leg rig. If using a rifle, start with the gun in hand but pointed downwards at the ground.
- Hit the timer’s button.
- Once you hear the “BEEP” fire one shot. Note your reaction/split times on the shot clock.
- Repeat 10 times. Now you have a feel for how fast it takes you to get one shot off from a holstered or unready position.
- Next we’ll be repeating the same process except you’ll fire twice at the “BEEP.”
- Repeat 10 times. Again, you’re now gradually getting a better understanding of your abilities. You’ll now be able to start noticing groupings. Try to keep them tight!
- Continue to repeat this process while increasing the amount of shots fired at the “BEEP” until you hit 6.
- If done correctly, you’ll have spent only 210 rounds and definitely over 30 minutes at the range.
Try this drill at different distances from your target such as 1, 3, and 7 yards. Still need a challenge? Keep all your shots in the A-zone.
Baer Solutions Standard

You don’t necessarily need a shot clock or timer for this drill. Have a buddy yell “gun,” “threat,” or “contact” to initiate the drill. The instructions are pretty clear with this one.
- On signal, engage each rectangle with 5 rounds.
- Have a second magazine ready to put 3 rounds into the circle.
- With a pistol, start with the gun holstered. With a rifle, start at the ‘low or high ready’ positions.
- The drill recommends pistol users to shoot at a distance of about 10, 15, or 21 feet.
- The drill recommends rifle users to shoot at a distance of about 15, 21, or 30 feet.
- You can change up the drill to use 3 mags in total to increase reloading practice. (One magazine per rectangle, and one final magazine for the circle)
Take note of your groupings and challenge yourself with a shot clock/timer if you want to be more pressured.
T.REX Arms Flinch Target

T.Rex Arms is a fantastic training and informational resource on YouTube. On their own website they host a page chock full of training videos on how to use their training aids designed to help you improve your shooting skills. With low round counts being the limiting factor, we really like the Flinch Target.
It’s an A4 page with 4 rows of 6 bold black dots. You fire one shot per black circle. No redos.
-The first row you shoot from a compressed stance or ‘ready’ position.
-The second row you shoot after drawing your sidearm from the holster. If using a rifle, you can start at a ‘low-ready’ position.
-The third row is called “transition.” If using a pistol, you switch to your offhand to fire to practice that transition from your shooting hand. If using a rifle, do the same by switching to your offhand side before firing at each black circle.
-The fourth row is “timed.” So incorporate a timer or shot clock to give yourself some pressure to shoot under a bit of duress. You can increase this challenge by adding a ‘par’ time if you want to say get a shot off in under 1 second flat.


